How To Root Samsung A23?

The Samsung A23 is a capable smartphone, but you might want to explore more possibilities by gaining root access. Rooting allows you to access the deepest levels of your device’s software, unlocking a world of possibilities for customization and control. However, it’s essential to weigh the potential benefits and associated risks before embarking on this journey.
Disclaimer
Rooting your Samsung A23 is an advanced procedure that carries inherent risks. It may void your device’s warranty, expose it to potential security vulnerabilities, and result in data loss or malfunction. This guide is provided for informational purposes, and you proceed at your own risk. It’s crucial to understand both the benefits and risks associated with rooting before attempting this process.
Benefits of Rooting

- Customization: Rooting enables you to customize your device’s appearance and behavior to suit your preferences.
- Remove Bloatware: Uninstall pre-installed bloatware and unwanted system apps.
- Performance Boost: Optimize your device’s performance by removing bottlenecks and running powerful apps.
- Backup and Restore: Create complete backups of your device and selectively restore data.
- Advanced Tweaks: Access and modify system files and settings that are typically locked.
Risks of Rooting

- Voided Warranty: Most manufacturers consider rooting a violation of warranty terms, potentially leading to warranty avoidance.
- Security Vulnerabilities: Rooting can expose your device to potential security risks if not done carefully.
- Bricking Risk: Incorrect rooting procedures can lead to the device “bricking,” rendering it unusable and challenging to recover.
- Data Loss: The rooting process may result in data loss, so it’s essential to back up important data.
Now, let’s proceed with the detailed steps for rooting your Samsung A23, both with and without using a PC.
How To Root Samsung A23 With PC
This section will guide you on how to Root Samsung A23 with a PC but before Rooting you have to follow the steps:

- Backup: Safeguard your essential data by performing a comprehensive backup.
- Unlock Bootloader: Ensure that you’ve successfully unlocked your Samsung A23’s bootloader, as rooting typically requires an unlocked bootloader.
- Developer Options: Go to Settings > About Phone > Tap on “Build Number” multiple times until you see a message indicating that Developer Options are enabled. Then, go to Developer Options and enable “OEM unlocking” and “USB debugging.”
- PC Connection: Using a USB cable, connect your Samsung A23 to your PC.
- Rooting Tool: Download a reputable rooting tool suitable for your specific Samsung A23 model. Ensure you obtain the tool from a trusted source.
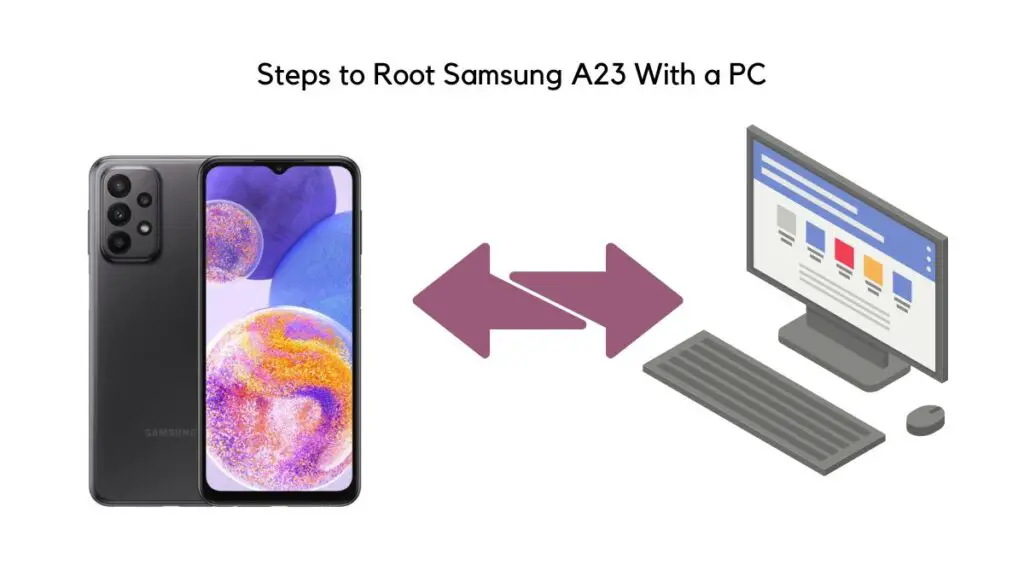
Steps to Root Samsung A23 With a PC
- Connect to PC: Using a USB cable, connect your Samsung A23 to your PC.
- Boot into Download Mode: Turn off your device and then press and hold the Volume Down, Power, and Home (if available) buttons simultaneously to enter Download Mode.
- Install Necessary Drivers: Ensure that the appropriate USB drivers for your Samsung A23 are installed on your PC.
- Download and Extract Rooting Tool: Download the rooting tool you’ve selected for your device and extract the contents to a folder on your PC.
- Execute Rooting Tool: Run the rooting tool as an administrator on your PC.
- Rooting Process: Follow the on-screen instructions provided by the rooting tool to initiate the rooting process. The exact steps may vary depending on the tool you’re using.
- Reboot: After successful rooting, reboot your Samsung A23.
How to Root Samsung A23 Without a PC
This section will guide you on how to Root Samsung A23 without a PC but before Rooting you have to follow the steps:

- Backup: Safeguard your essential data by performing a comprehensive backup.
- Unlock Bootloader: Ensure that you’ve successfully unlocked your Samsung A23‘s bootloader, as rooting typically requires an unlocked bootloader.
- Developer Options: Go to Settings > About Phone > Tap on “Build Number” multiple times until you see a message indicating that Developer Options are enabled. Then, go to Developer Options and enable “OEM unlocking” and “USB debugging.”
- Rooting App: Download a reputable rooting app directly to your Samsung A23 from a trusted source.
Steps to Root Samsung A23 Without PC

- Download Rooting App: Download a reputable rooting app directly to your Samsung A23 from a trusted source.
- Install Rooting App: Install the downloaded rooting app on your device.
- Open Rooting App: Open the rooting app and follow the on-screen instructions to initiate the rooting process. The steps may vary depending on the app you’re using.
- Reboot: After successful rooting, reboot your Samsung A23.
Frequently Asked Questions (FAQ)
- Is rooting safe?
Rooting carries risks, so proceed with caution and research thoroughly. - Will my warranty be voided?
Yes, rooting typically voids your device’s warranty. - Can I unroot my device?
Some devices offer methods to unroot, but warranty implications may persist. - Will data be lost during rooting?
Data loss is possible, so ensure you have a backup. - Can the process be reversed?
Some devices offer methods to unroot, but traces of rooting might remain. - Is rooting legal?
Rooting is generally legal, but it may void warranties and impact device security.
Conclusion
Rooting your Samsung A23 can provide advanced customization and control over your device, but it’s not without risks, including warranty voidance and potential data loss. Make an informed decision, follow the steps diligently, and exercise caution throughout the process. Thorough research and careful execution are key to a successful rooting experience, whether you choose to do it with the assistance of a PC or without one.